

Prerequisites
- A modern browser (Chrome, Safari, Firefox, or Edge)
- Joining an existing team: an invitation email from your team’s admin (check your inbox)
- Setting up a new organization: sign up directly at link.wejam.ai - no invitation needed
Step 1: Sign In
Navigate to link.wejam.ai. You’ll see the Jam Assistant login screen.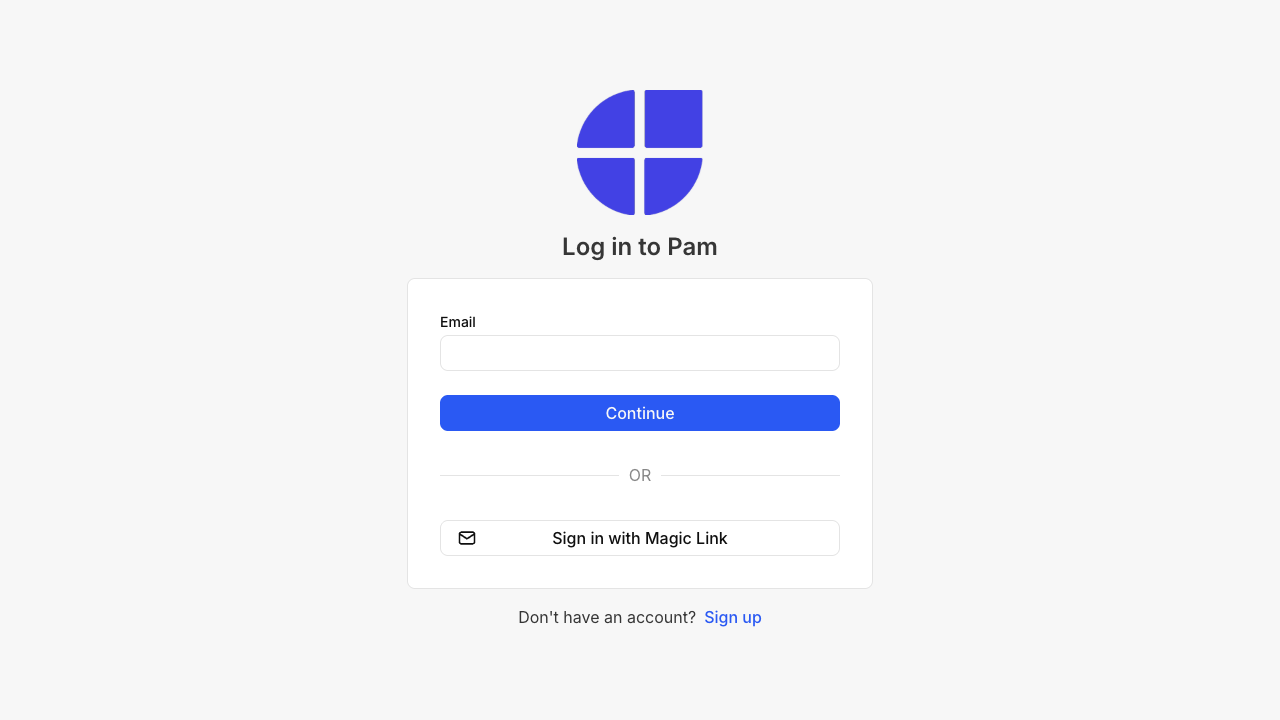 Enter your email address and click Continue. On the next step, enter your password and click Log in with email. You can also use Sign in with Magic Link if you prefer a passwordless login.
Step 2: The Main Chat Screen
After logging in, you land directly on the Chat screen. This is where you talk to Jam Assistant.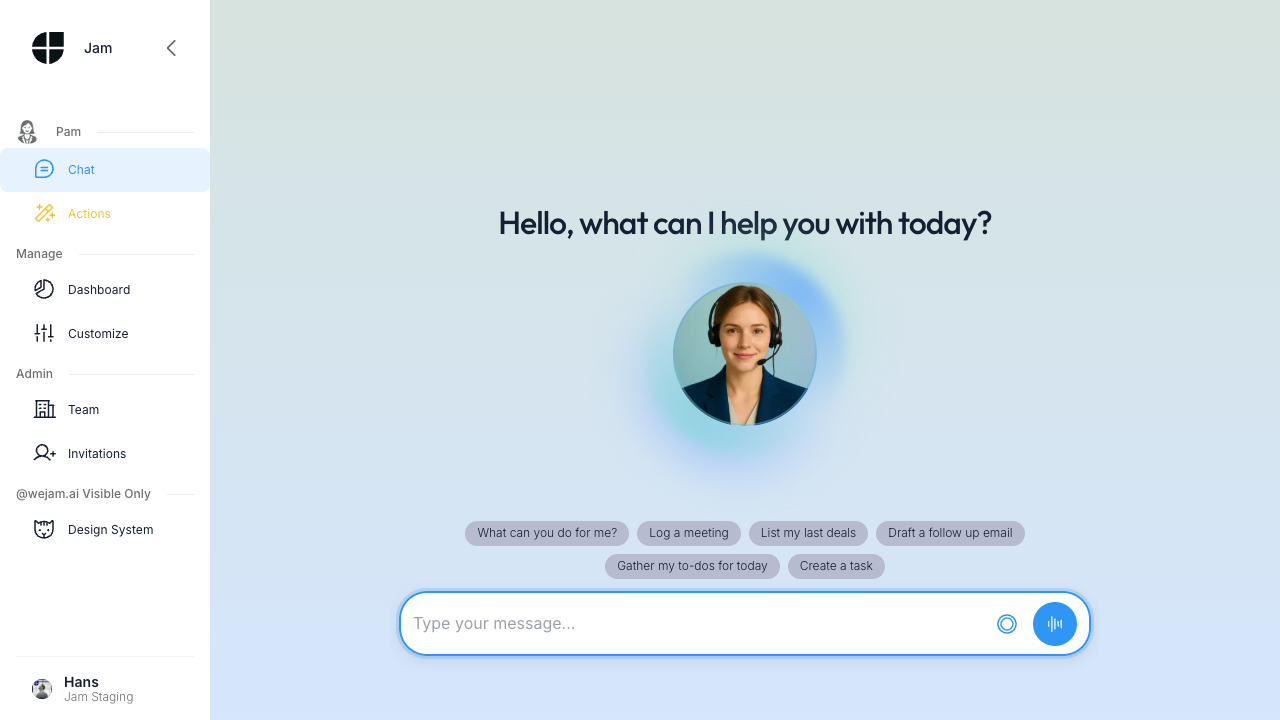 The left sidebar shows your full navigation:
- Jam Assistant section: Chat and Actions
- Manage section: Customize (Playbook, Knowledge, Integrations)
Step 3: Connect Your Tools
Before Jam Assistant can work with your real data, connect at least one provider. Navigate to Customize in the sidebar, then click Integrations in the sub-menu.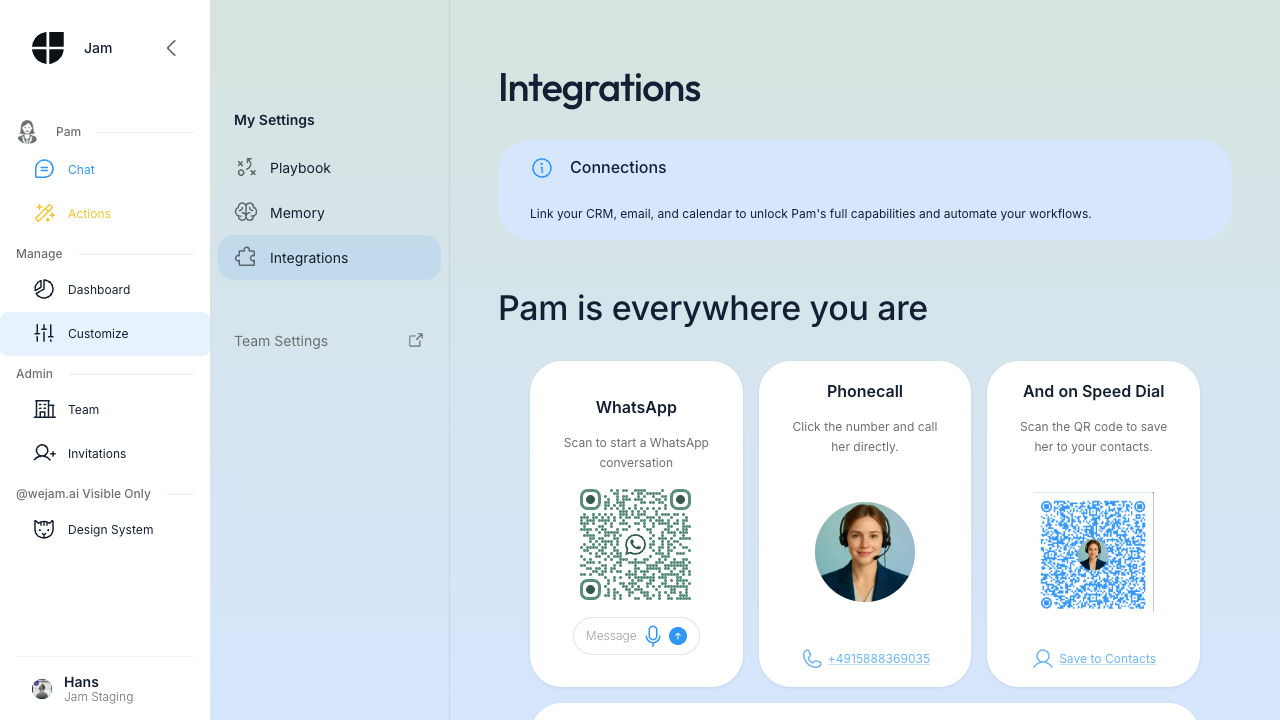 Scroll down to the Connections section to find your CRM, email, calendar, and chat providers.
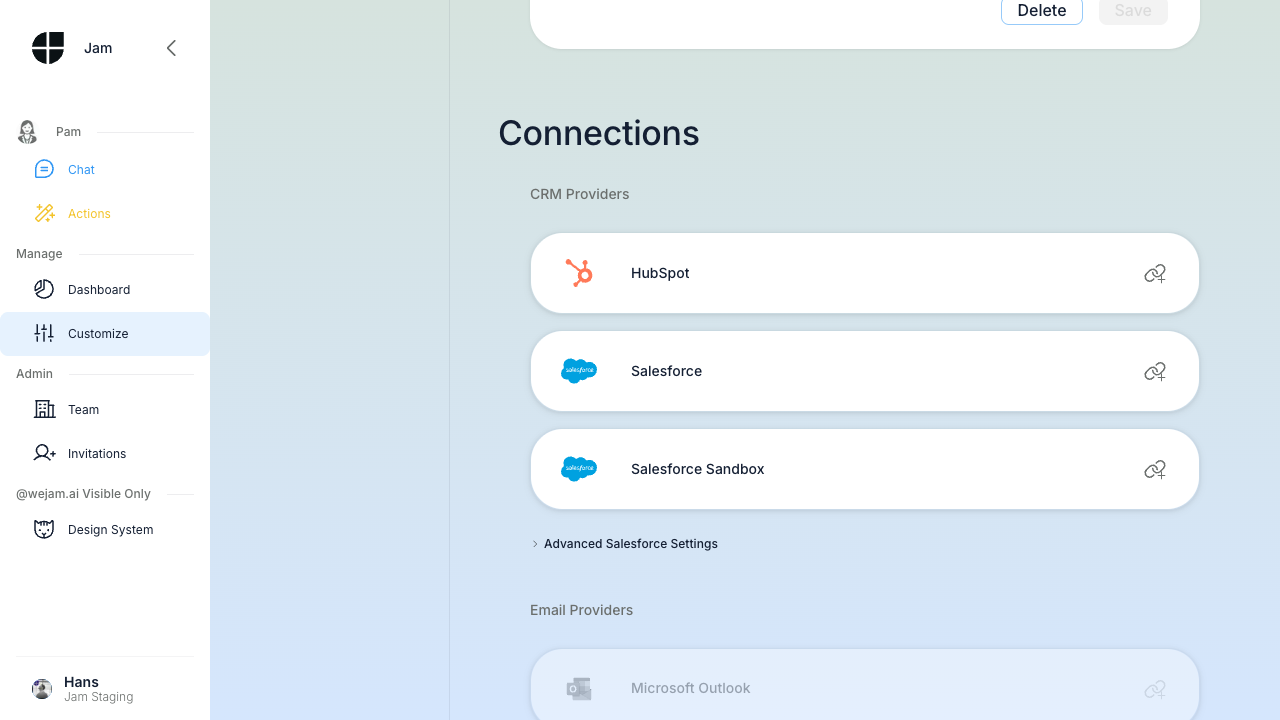 Available integrations:
- CRM Providers - HubSpot, Salesforce, or Salesforce Sandbox
- Email Providers - Gmail or Microsoft Outlook
- Calendar Providers - Google Calendar or Outlook Calendar
- Chat Providers - Slack or Microsoft Teams
- Click the provider card (e.g., HubSpot)
- You’ll be redirected to the provider’s OAuth authorization page
- Grant Jam Assistant access and you’ll return to the Integrations screen
- A green Connected chip and a tool count confirm the connection
Tip: You can connect one provider from each category. For example, connect HubSpot for CRM, Gmail for email, and Google Calendar for scheduling - all at once.
Salesforce users: connecting Salesforce requires two steps in order - your Salesforce admin must first be invited to Jam Assistant with the Admin role, then follow the Salesforce Admin Guide to approve the Connected App. Until that is done, the app will not appear in Salesforce and the OAuth flow cannot complete. See Integrations for the full setup sequence.
Step 4: Start Your First Conversation
Click Chat in the sidebar to return to the conversation screen.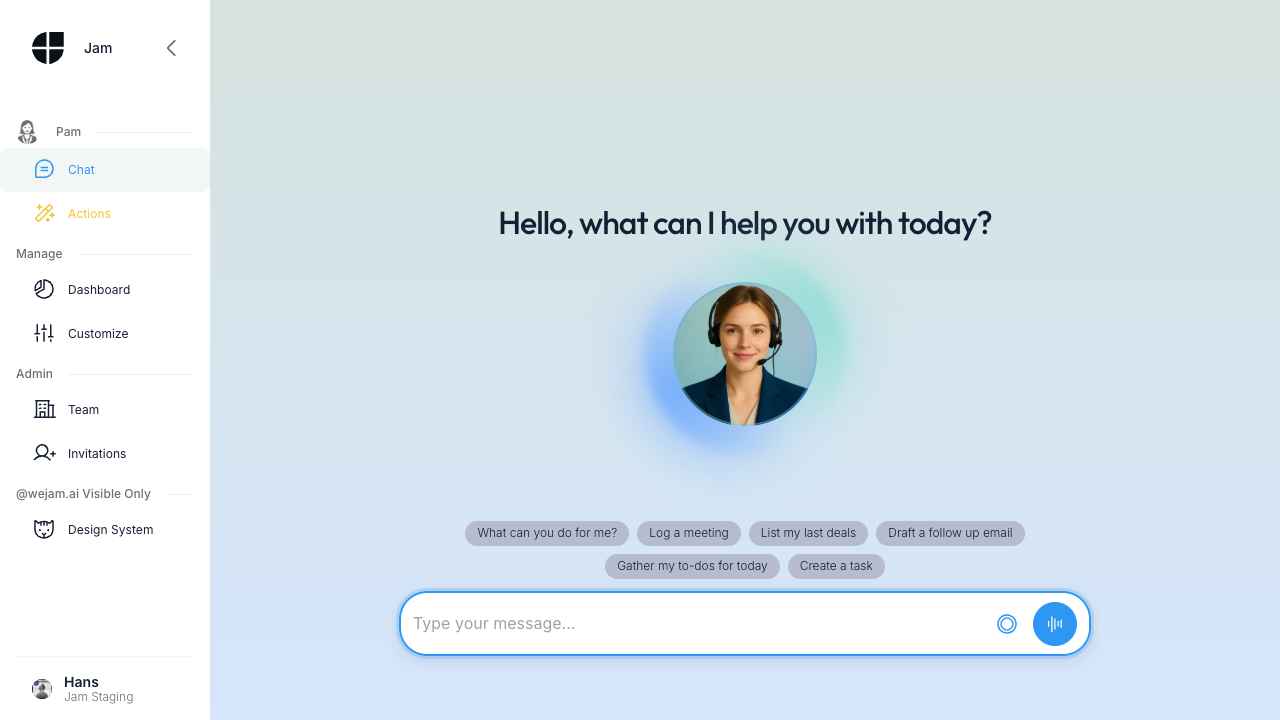 Jam Assistant greets you with “Hello, what can I help you with today?” and shows a row of suggestion pills to get you started quickly:
- What can you do for me? - Get an overview of Jam Assistant’s capabilities
- Log a meeting - Record a meeting note
- List my last deals - Pull recent CRM records
- Draft a follow up email - Compose an email for a contact
- Gather my to-dos for today - See your open tasks
- Create a task - Add a new task in your CRM
Roles
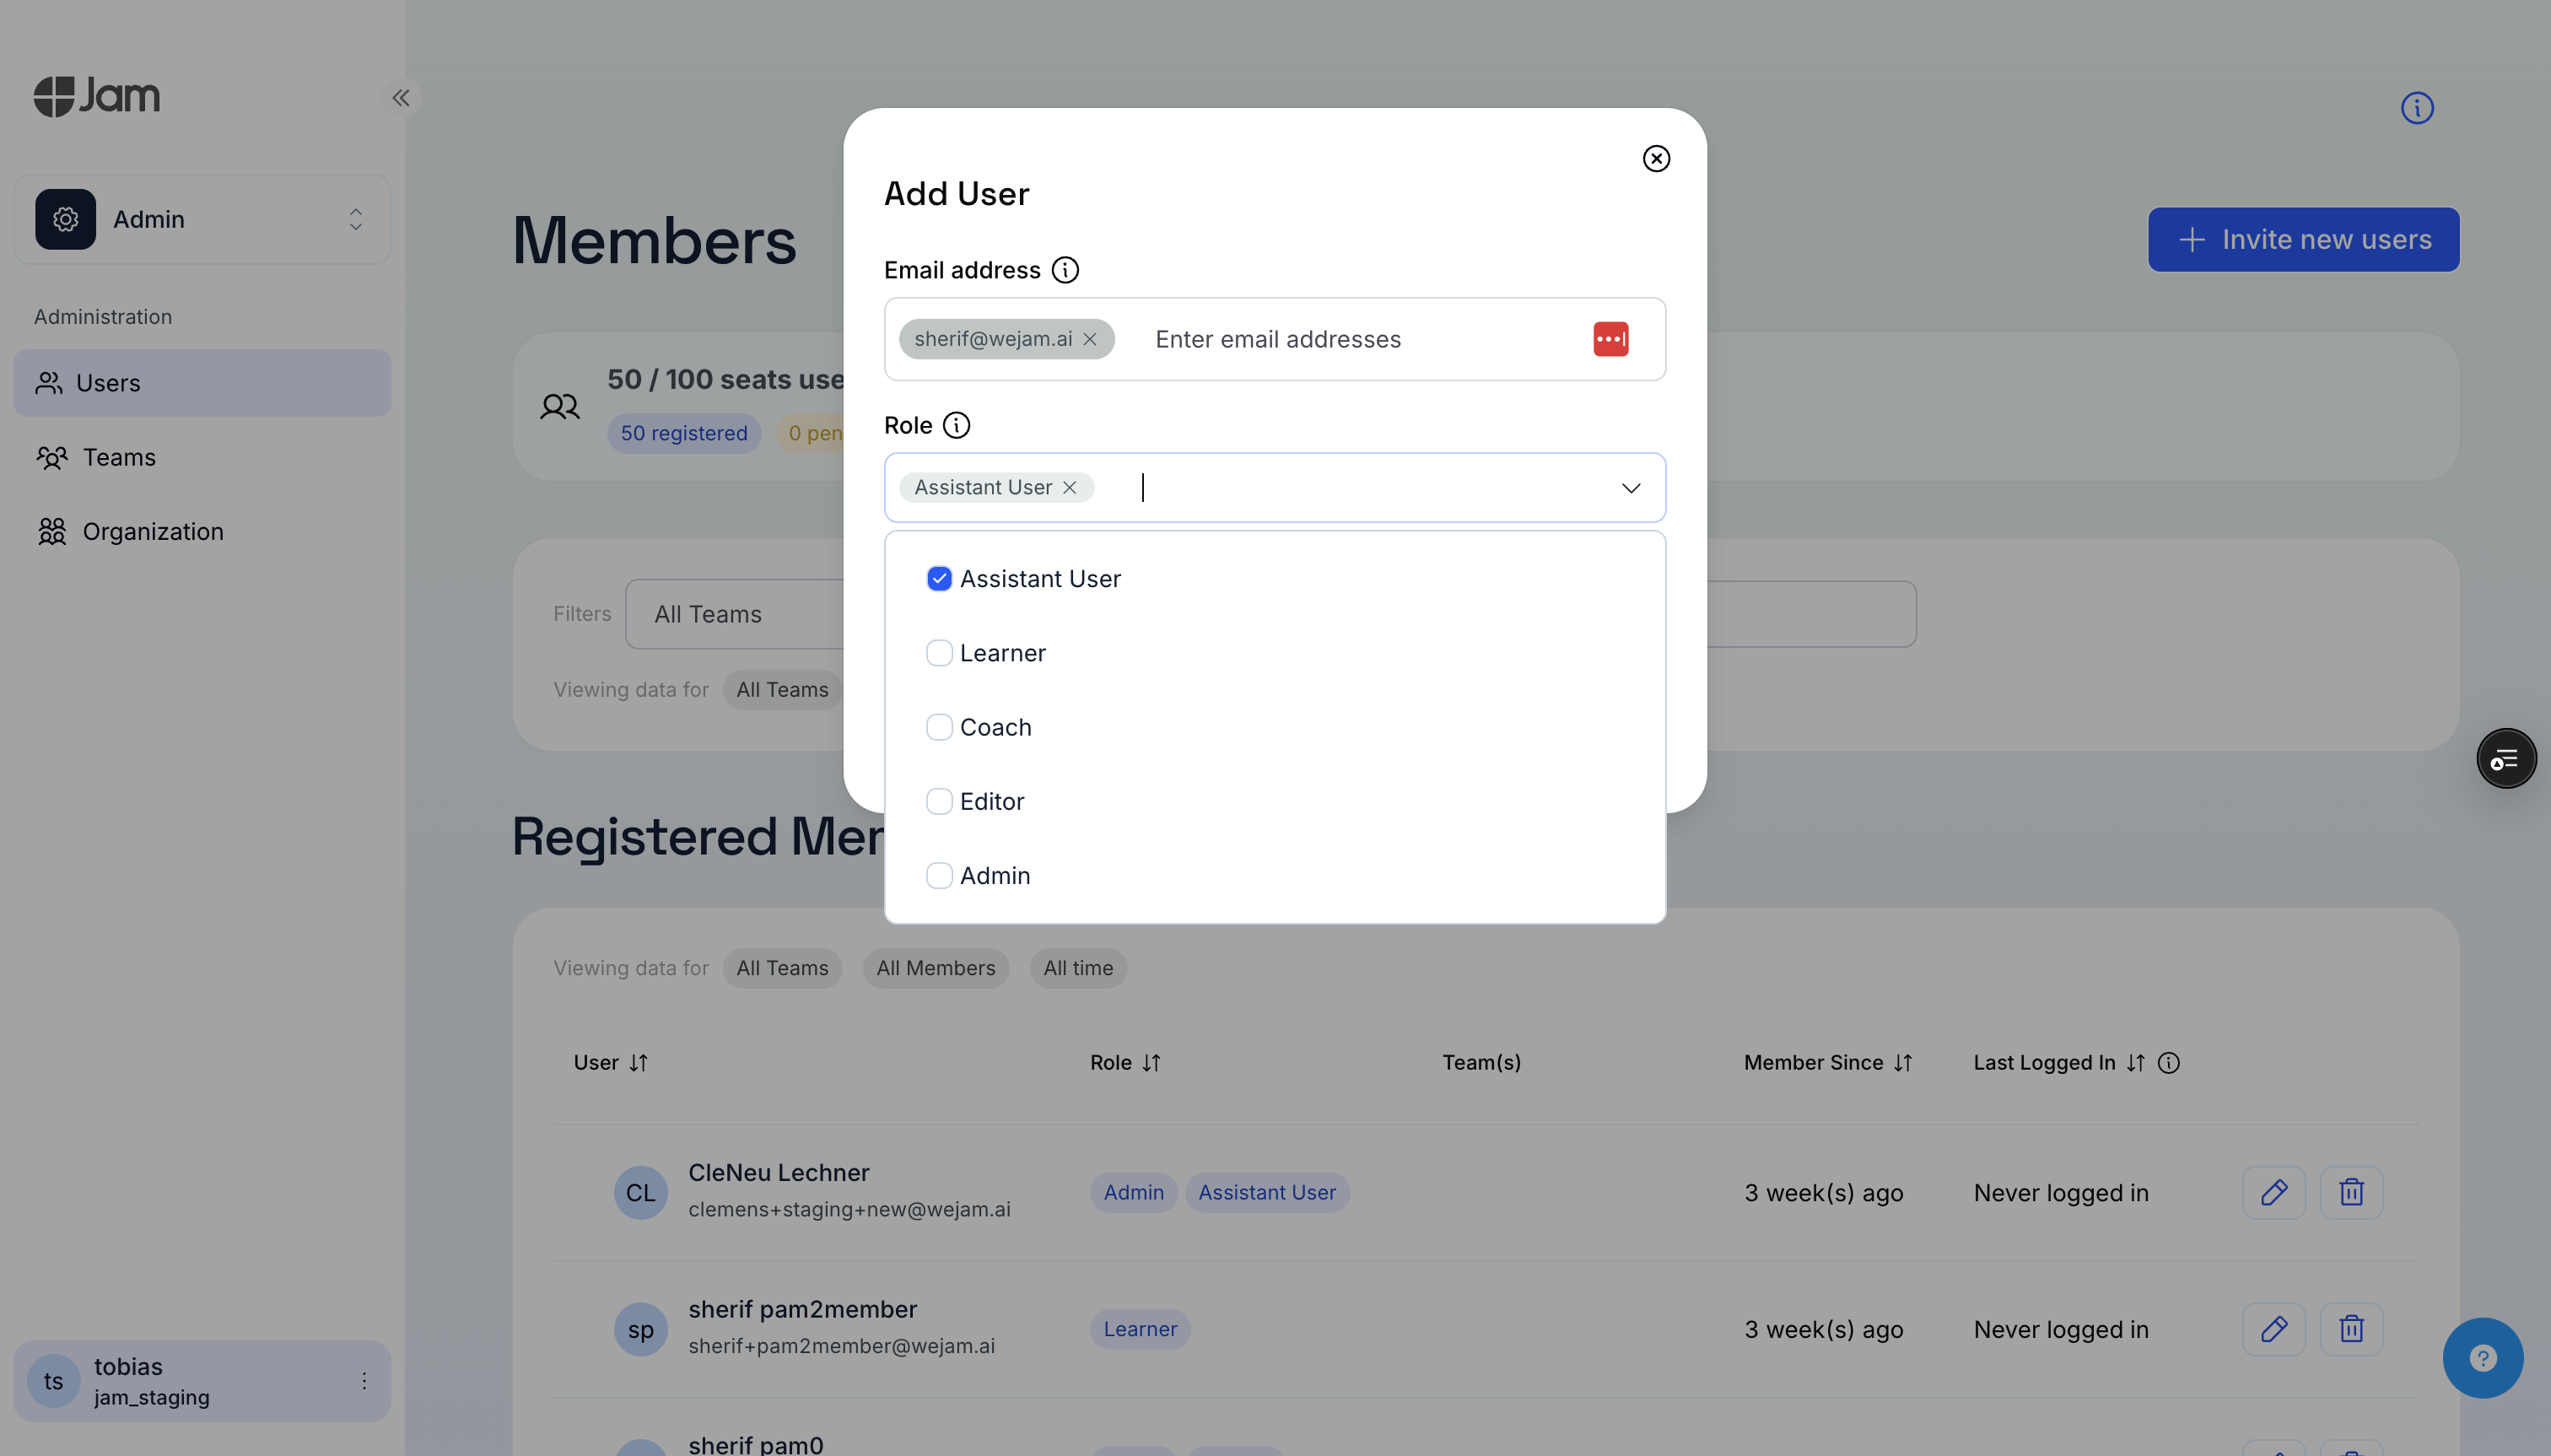
Roles are assigned per user on the platform’s Users page, and can be combined - a person can be both an Admin and an Assistant User, for example. Two roles are relevant to Jam Assistant:
You may see other roles when inviting users - Learner, Coach, Editor - but those grant seats in Jam’s other products (training, content editing), not the Assistant. They only appear if your org has those capabilities enabled, and don’t affect Assistant access either way.
Step 5: Invite Your Team
User invitations are managed on the platform, not inside the Assistant app. As an admin, click the Admin link at the bottom of the sidebar to open the Users page in a new tab.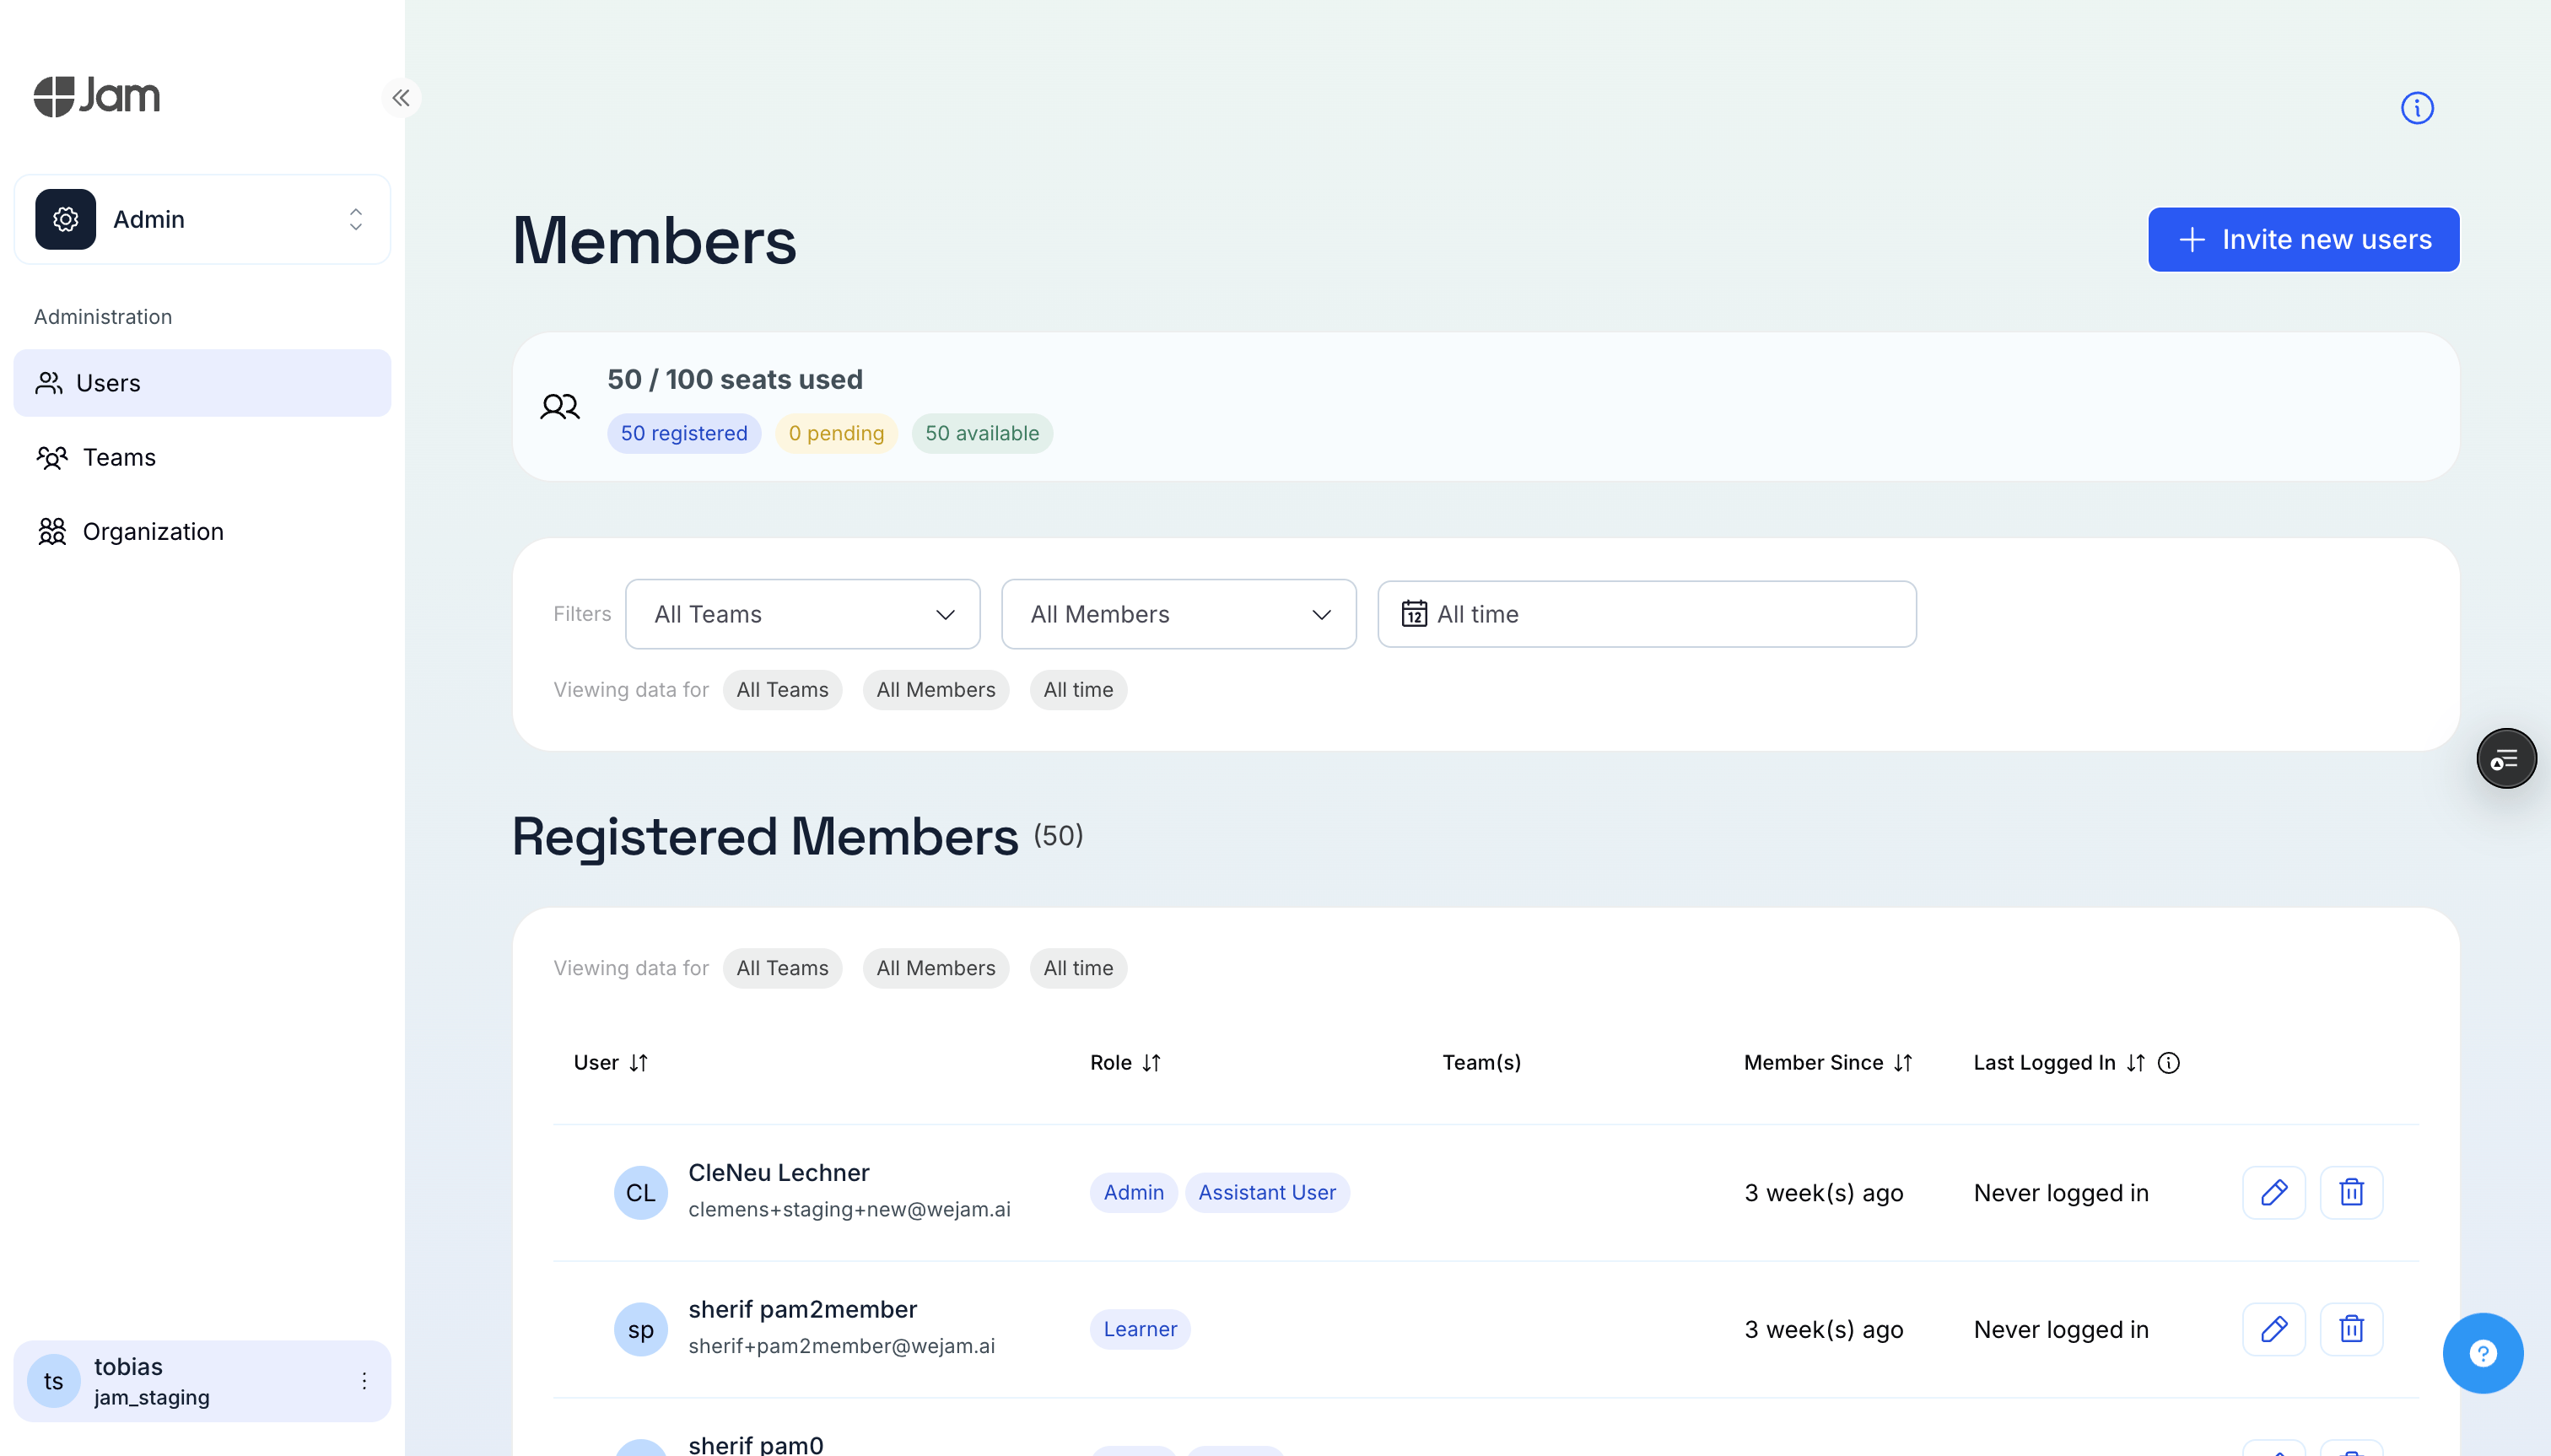
What’s Next
- Playbook - Define how Jam Assistant works for your team and for you personally
- Web Chat - Deep-dive into chatting with Jam Assistant
- Demo & Quickstart - Try the guided demo first
Choosing a Channel
Jam Assistant is available in four ways. Here’s a quick guide to help you pick:
See Telephony for a deeper comparison.